Making the code from the book 'Beginning PHP and MySQL E-Commerce From Novice to Professional - 2nd edition' published in 2008 run in 2021
This book is one of my favorite PHP texts on the topic of e-commerce, focused only on the single project with its 700+ pages, it shows how to build a fully featured online shop, and along the way educates how to separate the logic into three-tier architecture:
- data
- business
- presentation
Here is a list of features covered and implemented in the book that I've found especially useful and interesting:
- being able tot add options (attributes) to a product
- selectively displaying featured products on the home, and department pages
- showing product recommendations
- searching the catalog
- being able to store a product in more than one category
- the order managment system (order pipeline) to keep track of orders at every stage in the process, from stock checking to shipping and customer notification
- adding items to the shopping cart with ajax using straight and compact javascript code, in case javascript is disabled in the client there is non-ajax 'add to cart' functionality
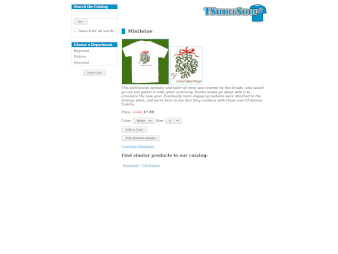
I find the layout of the store minimalistic and cute. The CSS files are quite small and everything loads quickly without the overhead involved with modern frameworks.
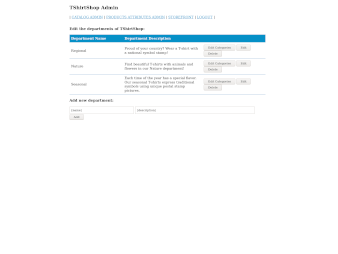
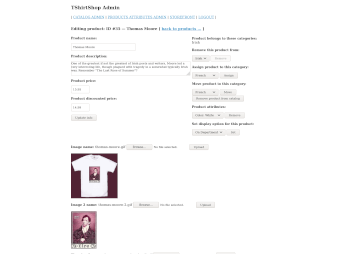
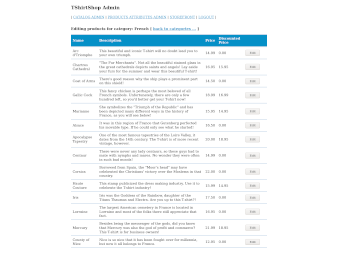
Surprisingly, the administrative area looks great even on a small mobile device when handled horizontally, though there is too little gap between some controlling elements that could be adjusted to facilitate better usability. To make the store front look great on mobile devices as well, some media queries and style tweaking is necessary. Actually I've found it's easier to rewrite the HTML and CSS responsible for the columns, making them adaptable to a great range of screen sizes, than tweaking the old styles.
I've chosen the code belonging to the Chapter 11 that concludes the Phase 1: Getting a Site Up as a base to work on here, and set up the live demonstration for it.
The live demonstration was running fine on PHP 7+ when I wrote this article in 2021, now the server of this website runs PHP 8+, which is not compatible with the previous version of Smarty that I used for this project. I tried to update Smarty to the newest version, but got deprecation warnings about using the setPluginsDir() method. Unfortunately I could not find any information on what new method should be used instead.
So to have fun playing with the tshirtshop without delving into a plethora of technical issues use PHP 7+.
Preparation
directories:
============
	business
	images
	include
	presentation
	product_images
	styles

files:
======
	.htaccess
	404.php
	500.php
	admin.php
	index.php
http://localhost/tshirtshop/Now let's take actions that will make the code work
Create the libs directory and add the smarty package to it.
You might use the same package I've downloaded and installed on my system in 2020 from the official website. Download
$ mv -v [your-download-dir]/smarty.tgz .$ tar zxfv smarty.tgz$ rm -v smarty.tgzIf instead of using my copy of smarty, you downloaded the package from the official website, uncompress the file and place it in a way that the smarty directory will be located in the libs directory.
In the index.php file find the following line:
$application = new Application();and replace it with the this code snippet:
$application = new Smarty();
$application->setTemplateDir(TEMPLATE_DIR);
$application->setCompileDir(COMPILE_DIR);
$application->setConfigDir(CONFIG_DIR);
$application->setPluginsDir(array(
	SMARTY_DIR       . 'plugins',
	PRESENTATION_DIR . 'smarty_plugins'
));
Repeat this step for the admin.php file as well.
Refresh the page, if you see an error message saying something similar to:
ERRNO: 2
TEXT: mkdir(): Permission denied
LOCATION: /htdocs/tshirtshop/libs/smarty/sysplugins/smarty_internal_runtime_writefile.php,
line 45, at January 27, 2021, 9:23 pm
...
$ chmod 777 presentationAccess denied for user 'tshirtshopadmin'@'localhost' (using password: YES)...Open the include/config.php file, and adjust the values of the constants related to the database connection, if you use the XAMPP or LAMPP stack, you'd need to change them to these:
define('DB_SERVER', 'localhost');
define('DB_USERNAME', 'root');
define('DB_PASSWORD', '');
Download the complete database for the chapter 11 that I exported from a working tshirtshop demo site, and import it into your mariaDB/mysql server.
If you use XAMPP or LAMPP and had a problem with creating stored procedures during the import, you can fix it by executing the following line in your shell:$ sudo /opt/lampp/bin/mysql_upgrade -u root -pThat's all there is to it!
Now enoy playing with your shop!
To see the administrative area, open this url:
http://localhost/tshirtshop/admin.php
the default username and password are:
tshirtshopadmin
tshirtshopadmin
they set as constants in the include/config.php file.
If you still have an issue running the tshirtshop project, please use the the comments below to describe the issue.


